在GitHub上搭建一个hexo博客
在GitHub上搭建一个hexo博客
部署hexo到github上,
逐渐增加组件、让它成为一个全功能的博客。
我并不是一开始就清楚所有内容所以这篇博客只能作为参考作用。
我会在下方提供我所参考的有价值的文章连接。这些能够帮助我或者读者搭建hexo。
我们需要hexo有以下功能。
- 能够在我们的GitHub.io域名上看到
- 能够做站内搜索
- 能够与读者互动回复
- 能够分析站点
- 能够被搜索到、百度和谷歌
能够贴公式能够在线聊天能够打广告如果可能我们尽可能参考hexo与butterfly的官方文档。
前置安装
node
npm
git
安装hexo
1 | 测试 node -v |
创建一个git仓库
仓库名必须是 [username].github.io
如果可以通过[username].github.io则创建成功
绑定SSH
查看ssh是否存在
创建证书
1
ssh-keygen -t rsa -C "[email]"
如果成功会创建一个证书在c:/Users/[systemuser]/.ssh
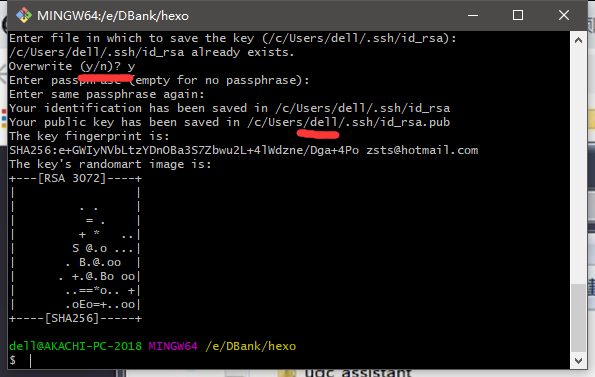
拷贝id_rsa.pub中的内容
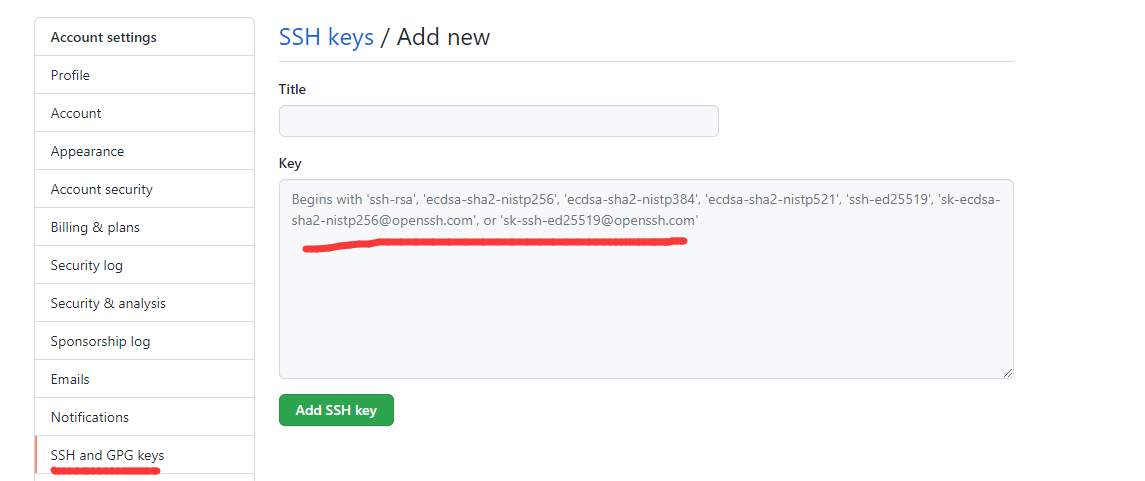
绑定证书到github
登录GitHub
进入 [头像]->[settings]->[SSH add GPG keys]->[new SSH key]
在key中粘贴第三步拷贝的内容
测试是否绑定成功
1
2
3
4
5
6
7
8
9
10在bash或者terminal中输入
ssh -T git@github.com
ssh -T git@github.com
The authenticity of host 'github.com (52.74.223.119)' can't be established.
RSA key fingerprint is SHA256:nThbg6kXUpJWGl7E1IGOCspRomTxdCARLviKw6E5SY8.
This key is not known by any other names
Are you sure you want to continue connecting (yes/no/[fingerprint])? yes
Warning: Permanently added 'github.com' (RSA) to the list of known hosts.
Hi [username]! You've successfully authenticated, but GitHub does not provide l access.在系统询问”Are you sure you want to continue connecting (yes/no/[fingerprint])?”时输入yes
如果看到 successfully 表示成功
创建博客
选择一个想要部署博客的文件夹
在文件夹内打开Git bush或wsl terminal
初始化hexo
1
2
3
4
5
6在某个目录下 比如 E:/DBank/blog
hexo init
INFO Cloning hexo-starter https://github.com/hexojs/hexo-starter.git
INFO Install dependencies
INFO Start blogging with Hexo!发生报错
FATAL X:\path\Blog not empty, please run
hexo initon an empty folder and then copy your files into it由于文件夹内不是空的
启动hexo
1 | hexo s |
部署到github上
修改_config.yml
在最后deploy上加入一夏内容
1
2
3
4deploy:
type: git
repository: https://github.com/[username]/[username].github.io.git
branch: main安装hexo-deployer-git 插件
打开git bash如果无法正确安装成功就打开CMD安装
1
2npm install hexo-deployer-git --save
added 53 packages in 2shexo生成
1
hexo g
hexo 部署
1
2
3
4
5
6
7
8hexo d
INFO Validating config
INFO Deploying: git
INFO Setting up Git deployment...
Initialized empty Git repository in X:/[path]/Blog/.deploy_git/.git/
[master (root-commit) 5fa3584] First commit
1 file changed, 0 insertions(+), 0 deletions(-)创建令牌并登陆
如果弹出需要git登陆而且你么有token可按照以下流程创建一个token
[Settings]->[Developer settings]->[Personal access tokens]->Generate new token

如果你很懒可以创建一个无期限的token
选择Expiration为No Expiration
拷贝Token并输入
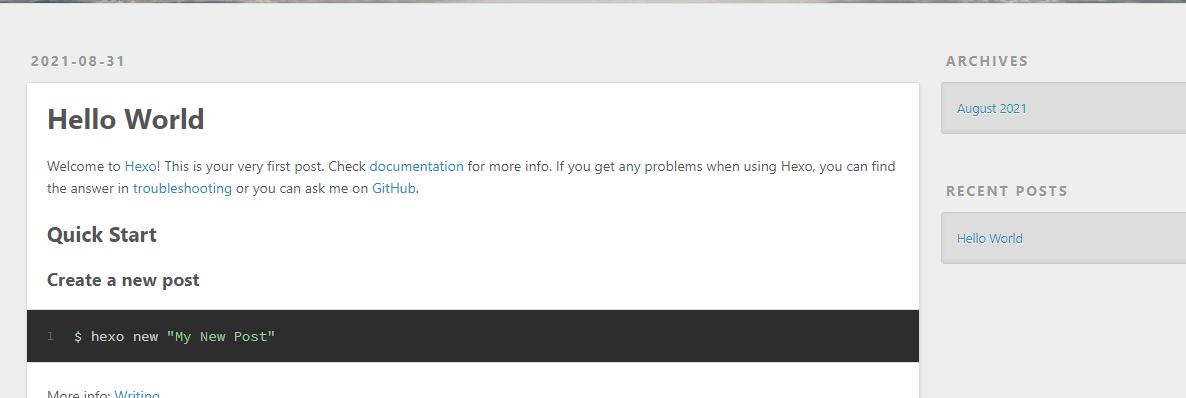
验证
访问https://[username].github.io/
看到以下内容就是博客部署成功了
可以吧整个项目上传到github上
1 | git init |
写博客
到blog目录内
通过命令 hexo n “[name]”
文件会被创造在 source/_posts/内
创建的文件中有默认代码块其中包含 title、date、tags三个字段 是yml格式,不按格式写会打包失败。
tags 是个数组或字符串,可以用于检索文章。
例子:
1 | --- |
完成后执行:
1 | 清理 |
自定义主题
官方主题地址:https://hexo.io/themes/
迄今为止见过最好的主题https://github.com/jerryc127/hexo-theme-butterfly
因为它有很完整的文档
1 | 克隆到主题目录下 |
修改配置文件 _config.yml 选择主题
1 | theme: butterfly |
设置博客
创建标签页
1
hexo new page tags
\source\tags\index.md
类型页面也一样
文章置頂
【推薦】hexo-generator-index從 2.0.0 開始,已經支持文章置頂功能。你可以直接在文章的front-matter區域裏添加sticky: 1屬性來把這篇文章置頂。數值越大,置頂的優先級越大。
设置搜索
这里你要做以下几个事情。
- 到algolia中去创建一个账号
- 创建一个免费的APP
- 创建一个有足够权限的API Key
- 跟新 npm 安装hexo-algolia
- 配置_config.yml文件
官网注册:https://www.algolia.com/ ,或者直接用GitHub账号登陆,登陆地址: https://www.algolia.com/users/sign_in 我就是用GitHub账号登陆的
到:https://www.algolia.com/account/applications 页面中去添加一个应用
点击Platform>API Keys> New Api Key
在CAL 在文档中提示需要四种权限,但是algolia系统应该已经改版了,权限名字更新了。
我个人理解为 跟新成了listindex deleteindex addObject delObject 四个权限。
不过我们为了让它不麻烦可以全选所有权限(一个一个添加)。
在APP下创建一个index 叫做”blog-search” 或者随便其他什么名字
安装hexo-algolia
1 | npm update |
配置
在Hexo根目录的_config.yml中加入algolia的配置,注意改成前面API Keys页面相应配置。
这里注意apikey填写刚才你创建的那个有权限的,其余的在your api keys里面可以找到
adminApiKey可以在 App key中找到 ,是密文不过可以拷贝
1 | algolia: |
提交
上传数据到
algolia,下面your apiKey替换为刚才自己创建拥有权限的api先创建环境变量HEXO_ALGOLIA_INDEXING_KEY
然后在根目录执行hexo algolia
1 | export HEXO_ALGOLIA_INDEXING_KEY=your apiKey |
设置回复
步骤:我们选用共识性最高的gitalk
1、创建用于存放评论的git仓库
2、创建在git创建OAuth应用(应用许可证)
3、修改配置文件
第一步不说
登陆github>>点击右上角头像>>settings>>点击Developer settings>>OAuth Apps>>new OAuth Apps
homepage URL输入博客的地址。
Authorization callback URL与以上相同。
其他随意填
点击注册后会看到Client ID
点击’Generate a new client secret’ 创建一个secrets,secrets只会出现一次请复制
修改themes\butterfly\_config.yml
1
2
3
4
5
6
7
8
9
10
11
12
13
14
15comments:
use:
- Gitalk # 下面会有可用的comments模块,要用哪个就在这里写,首字母必须大写,我们在这里写Gitalk。
gitalk:
client_id: [上面复制的这里用]
client_secret: [上面复制的这里用]
repo: [仓库名]
owner: [你的gitname]
admin: [你的gitname]
language: zh-CN # en, zh-CN, zh-TW, es-ES, fr, ru
perPage: 10 # Pagination size, with maximum 100.
distractionFreeMode: false # Facebook-like distraction free mode.
pagerDirection: last # Comment sorting direction, available values are last and first.
createIssueManually: false # Gitalk will create a corresponding github issue for your every single page automatically
option:
站点分析
设置谷歌、百度
到相应的平台去注册analytics ID
官方给了官网地址。这里操作很简单无需多言
- baidu_analytics: 你的代碼
- google_analytics: 你的代碼 # 通常以
UA-打頭
搜索引擎收录
测试是否被收录
site:[域名]
谷歌
网址: https://search.google.com/search-console
验证所有权。
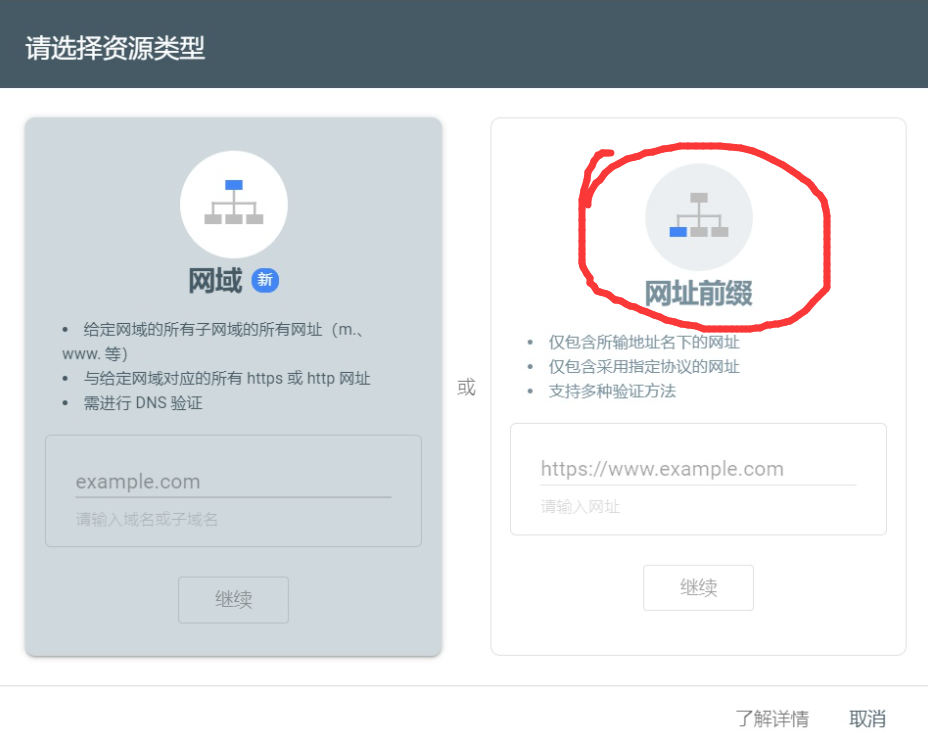
由于我们是白嫖怪没有DNS管理权限所以只能用这个,谷歌没让我进一步验证任何权限,我怀疑是之前谷歌分析的代码导致的。
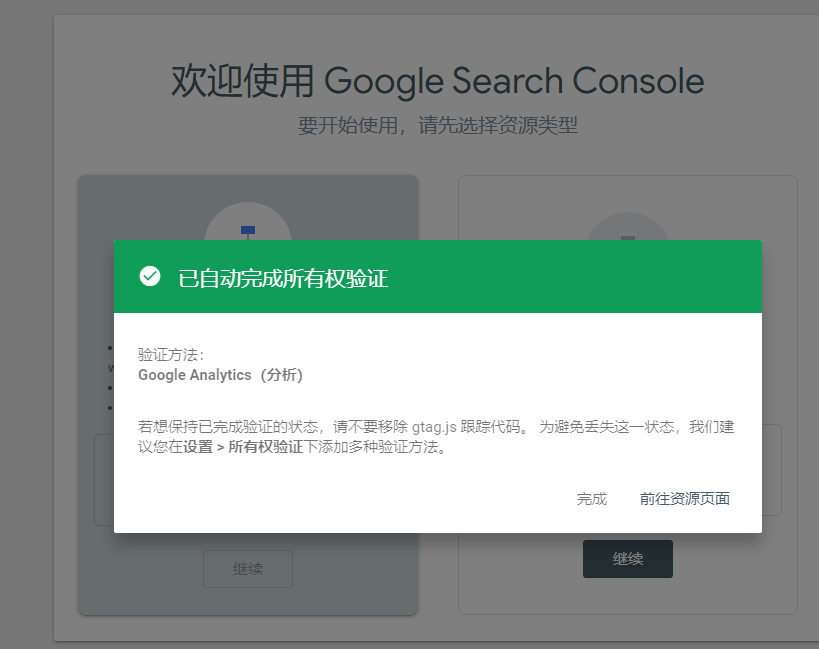
好了不必验证了的确如此
多加一个HTML的验证方式
添加蜘蛛协议
在 blog/source 目录下新建一个 robots.txt 文件,内容如下:
1
2
3
4
5
6
7
8
9
10
11
12
13
14
15
16User-agent: *
Allow: /
Allow: /archives/
Allow: /categories/
Allow: /tags/
Allow: /messagepad/
Allow: /resources/
Allow: /about/
Disallow: /vendors/
Disallow: /js/
Disallow: /css/
Disallow: /fonts/
Disallow: /vendors/
Disallow: /fancybox/
Sitemap: https://artificial-deus.github.io/sitemap.xml安装 generator工具
1
npm install hexo-generator-sitemap --save
生成 sitemap.xml 文件
找到 blog 配置文件:blog/_config.yml,搜索url,把地址改成自己的网站地址。
1
url: https://artificial-deus.github.io
把下列代码追加到打开的配置文件末尾。
1
2sitemap:
path: sitemap.xmlhexo g 重新生成文件,在 blog/public 目录下会生成一个sitemap.xml文件。
Search Console 提交
点击左侧站点地图,在空白处输入sitemap.xml,点击提交
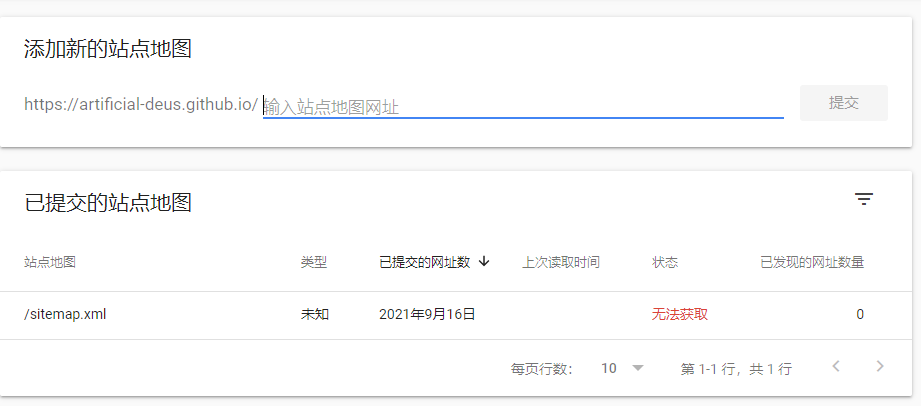
额上网搜索这个情况不一定是我们导致的,可能是谷歌延迟导致的。(比如分批处理)
网上说我们需要3-4周来等待更新。
有一定的可信度,因为我们访问过自己的网址确保它能用
百度推送
未完待续: 参考https://zhuanlan.zhihu.com/p/100922816
百度地址: https://ziyuan.baidu.com/dashboard/index?site=https://artificial-deus.github.io/
必须使用sitemap模式
在线聊天
数学
广告
赚点银子
参考资料
hexo: https://hexo.io/
搜索: